Welcome to the Big Z Fabric sewing blog! Today we’ll be making a patchwork chicken. These can be used as pincushions or paperweights. You can even make small ones and use them for hopscotch markers!
You will need:
- 100% cotton fabric – 2 complementary prints or solids (1/2 yard will make several chickens)
- Polyester stuffing
- Play sand, BBs, washers (optional)
- Thread
- Scissors or a rotary cutter and mat
- Sewing machine
- Scraps of red and yellow felt
- Small black beads or embroidery thread for eyes
First – for the fabric, I recommend quality 100% cotton. These are sometimes called calico or quilting cottons. For today’s project, I have used Reflection by Michael Miller, and Explorer Brown by Punch Studio for Hoffman California. Both fabrics are available at http://BigZFabric.com. Quality fabric and quality tools will make your sewing projects go much more smoothly!
FABRIC #1:
![]()
FABRIC #2:

For this project, I strongly suggest you use a sewing machine rather than sewing by hand. You will want nice, tight seams so that you can stuff your chicken fully.
It is not necessary to pre-wash your fabric, although you certainly may. Since the finished project won’t be washable, you won’t have to worry about shrinkage.
Step 1: Do the math!
Your chicken will be made of several squares of fabric. They can be any size you want. Obviously, the bigger the square, the bigger the chicken! I am using 4” finished squares. This size will make a useful size chicken for a pincushion.
Write down the size of your square. Remember this is the FINISHED size, so you have to add to it for seam allowances. Add 7/8 inch. Write that down as well. This is the size you will cut for your largest squares.
You will also need a couple of smaller squares. One will be your FINISHED size plus ½ inch. The other will be 1” smaller than that.
So for a 4” finished square, I have the following sizes:
4 inch FINISHED
4 7/8 inch large square
4 ½ inch medium square
3 ½ small square
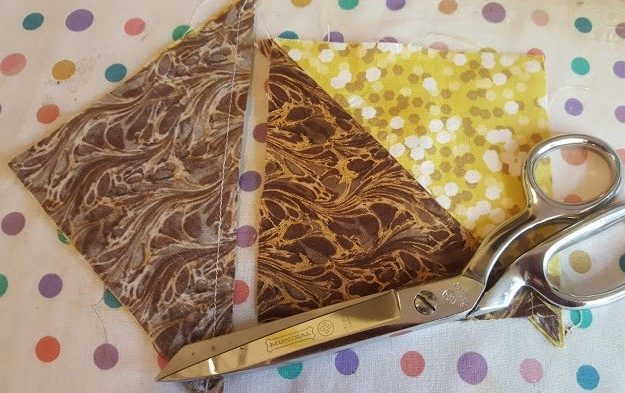
Step 2: Cut the fabric
Label your fabrics A and B (either way is fine, it’s just so we can keep track.)
Out of fabric A, cut one of your large squares and the medium square (4 7/8” and 4 ½” for illustration)
Out of fabric B, cut one of your large squares and the small square (4 7/8” and 3 ½” for illustration)
From your scraps of felt, cut a yellow triangle for the bill and a red coxcomb shape for the head.
Step 3: Sew the first seam!
Lay your two largest squares right sides together. Make sure you match all the corners accurately. On the wrong side of the lighter fabric, use a ruler to draw a line on the diagonal of the square. You will use this line as your sewing guide.
Stitch ¼” away from the diagonal line. Turn the square around and stitch ¼” on the other side of the diagonal line.
Cut along the diagonal line. You now have two squares that are made up of triangles. Iron your seams toward the darker color being careful not to stretch the fabric.
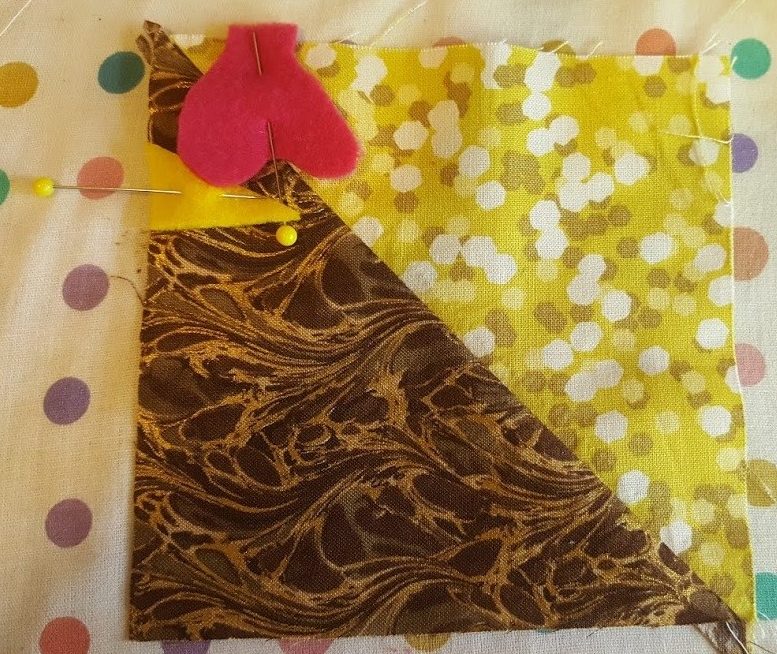
Step 4: Sew around your chicken
Lay one square right side up with the darker color on the bottom left. Place the beak piece on the left seam, about ¼ way down your square. Put the coxcomb piece along the top edge, close to the left side. Pin the felt pieces in place.
Lay the second square on top, right side down, matching the colors and seams. Stitch the top and left side using a ¼ inch seam. Sew the bottom seam at ¼ inch, but leave an opening in the middle so you can stuff your chicken.
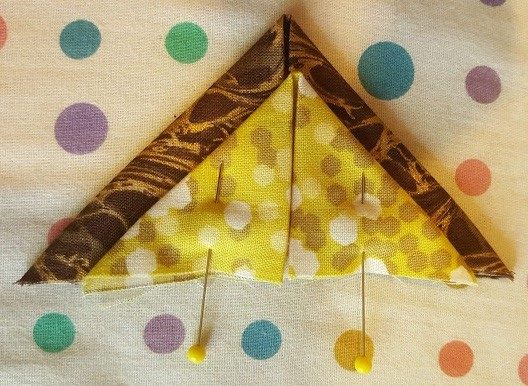
Step 5: Shake your tail feathers!
Using your medium square and your small square (4 ½” and 3 ½” for the example), we will create the tail of the chicken. Fold each square in half and iron them flat. With the raw edges at the bottom, take each upper corner and fold it down to the center of the bottom. Iron these well. You should have a triangle with a fold in the center of it. Pin the small triangle on top of the medium triangle matching the raw edges and the centers.
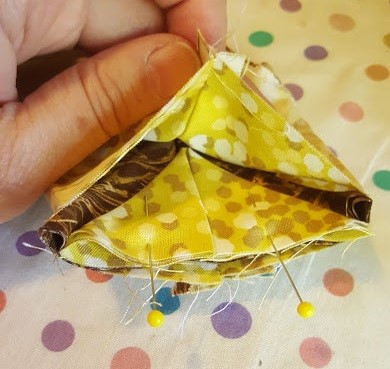
Step 6: This is where the magic happens
Go back to your large squares. The right side is still completely open. Take the center of the top seam and match it to the center of the bottom seam. Iron it flat. Place the tail feather inside the seam with the smaller triangle on top, matching the center bottom seam to the center of the tail feathers. Pin all the layers together and stitch straight across with a ¼” seam.
Step 7: Turn and stuff
You’ll find that stuffing this chicken is MUCH easier than stuffing a bird for dinner. Reach through the hole you left on the bottom of your chicken and turn it right side out. Make sure to get your corners as tight as possible. I find a dull pencil helpful, but don’t poke holes in your fabric! Once it’s right side out, you can begin stuffing. Take very small amounts of polyester stuffing and start shoving it inside the chicken. Fill the corners first and gradually fill the entire body. You want it firmly stuffed so that it holds its shape.
Extra tips: If you plan on using your chicken as a paperweight, add some washers or BBs in the bottom for extra weight. For a pincushion, use a funnel to add some play sand or walnut shells to help keep your pins and needles sharp. I filled my chicken completely with sand and I love having both the weight, and the instant needle sharpener!
When your chicken is fully stuffed, sew the opening closed. Make sure you use small stitches, especially if you added sand. You don’t want your stuffing to leak out. Finish your chicken by sewing two small black beads on either side of the head for eyes. Or, you can use embroidery floss and make French knots if you prefer.
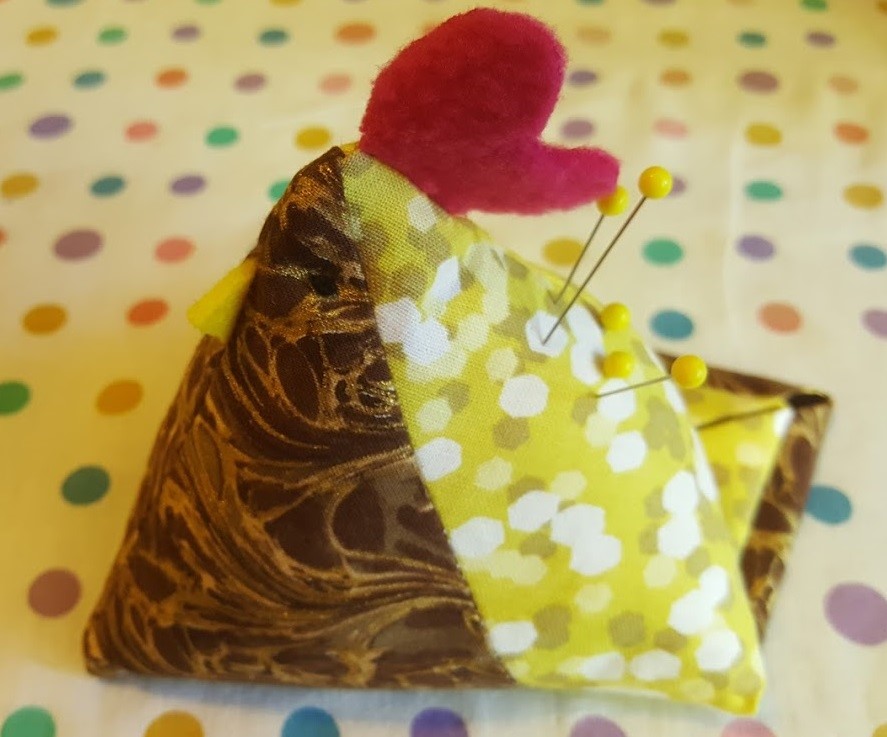
Now you’re ready to create a whole flock of chickens to decorate your office, your craft space, or your bookshelves. Have fun!