Book Cover
Level: Beginner
Time: 1 hour
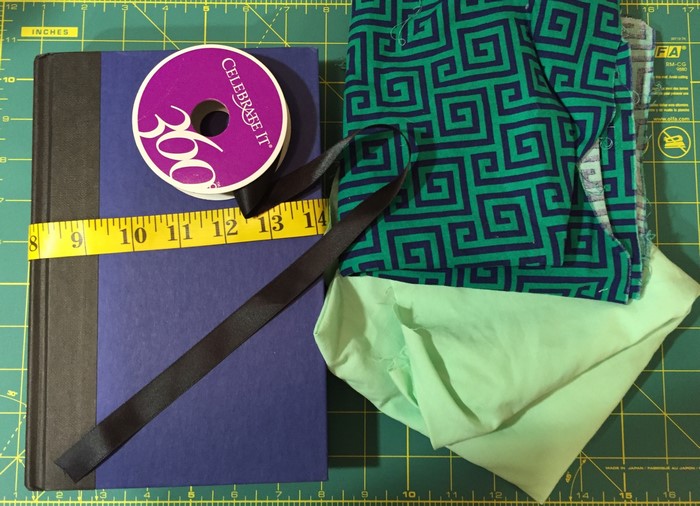
If you are a book lover like me, you may struggle with deciding which is more important; your hardback’s dust jacket or the cover itself. On one hand, you want to preserve the cover art, but on the other hand, you don’t want to get scuffs on your book. Have no fear, I have discovered the perfect solution to protect both your dust jacket and book; a homemade book cover. This quick and easy project can save your lovely books from cosmetic damage and can add a unique touch to your literature. Use these covers for your personal collection, journals, gifts for other book lovers, and so much more. So, gather your supplies, and let’s begin.
Materials: Optional:
Scissors Sewing Machine
Needle Ribbon
Book/Journal
Measuring Tape
Thread
Cotton Fabric (I used two different patterns)
Instructions:
• Measure your book from front to back (i.e. front cover, spine, and back cover).
** Add 2 inches to this number to give yourself a nice seam allowance.
• Measure the height of your book.
** Add 2 inches to this number to give yourself a nice seam allowance.
• You will need to cut out 2 pieces of fabric with the above measurements.
• Now measure the front cover of your book from side to side and divide that by 1.5.
• Cut 2 pieces of fabric with the measurements you just took (the side to side measurement and the previously measured height of the book).
* * These are going to be the pockets that keep the cover secured to the book.
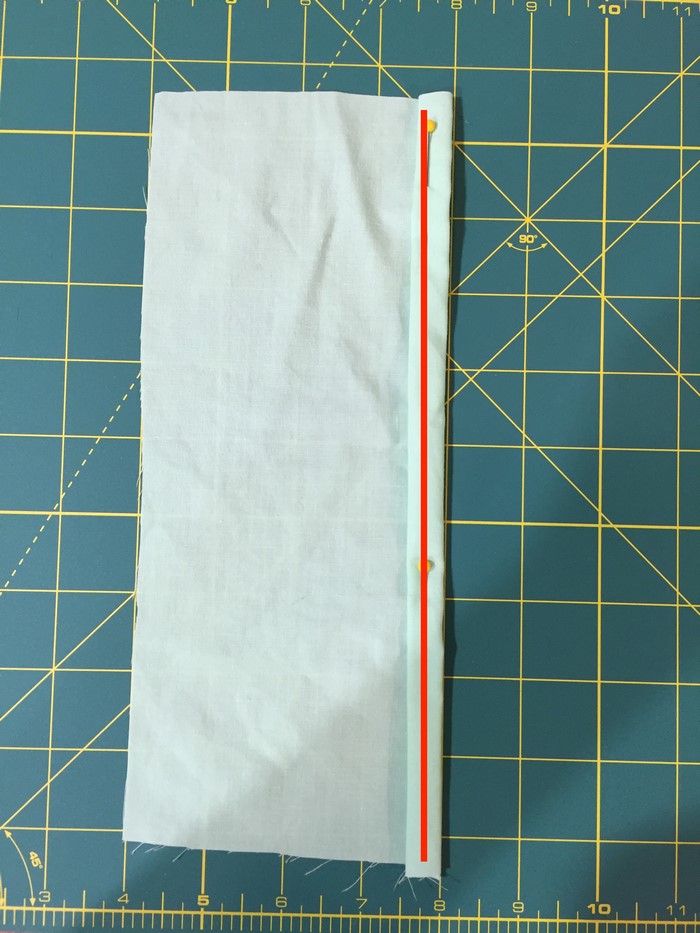
Example:
After measuring and cutting, I had a total of 4 pieces of fabric.
(2) 16” x 11.5”
(2) 5” x 11.5”
• Create a seam along one long side of each of the pockets
• Lay one side of the large fabric face up (this is what you will see when your cover is done).
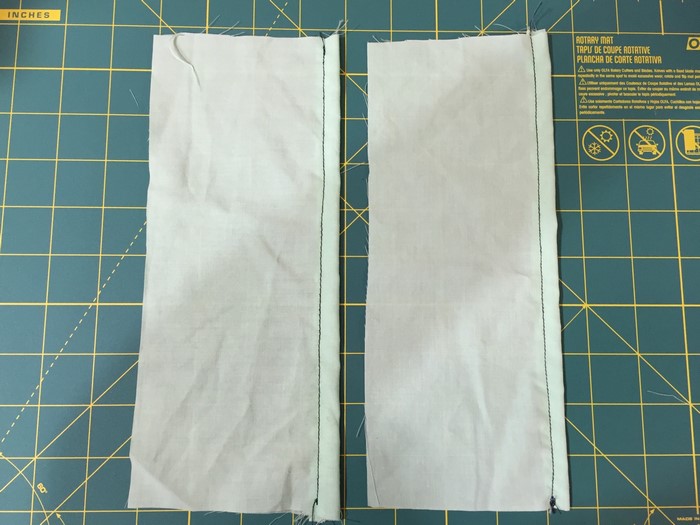
• Lay the pockets down one on each side of the large fabric with the backside of the hem up (the side you don’t want to see when you are finished).
• If you would like to sew in some ribbon to be used as a bookmark, place it right in the center of the large fabric, between the two pockets.
• Place the other large fabric piece on top with the patterned side facing down.
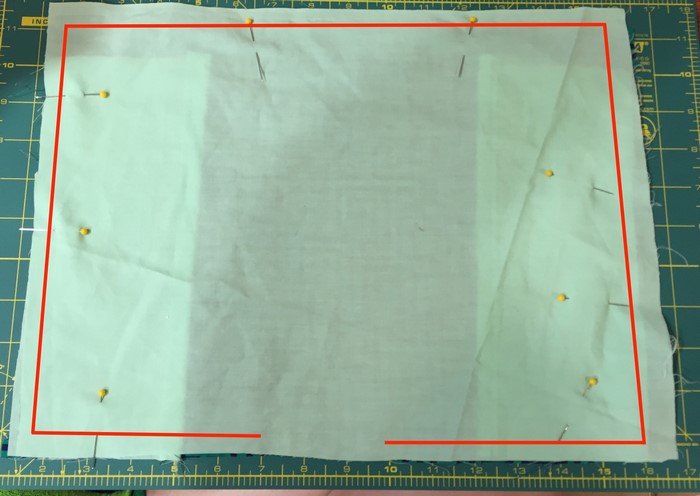
• Sew around the perimeter, but [IMPORTANT] leave a 1-inch hole unsewn right in the center bottom.
• Pull the fabric out through the unsewn hole so that the fabric is now right side out.
• Sew up the hole (I like to use a hidden stitch).
• Now insert the front cover of your book into one pocket and the back cover into the other pocket and you’ve got yourself a book cover.
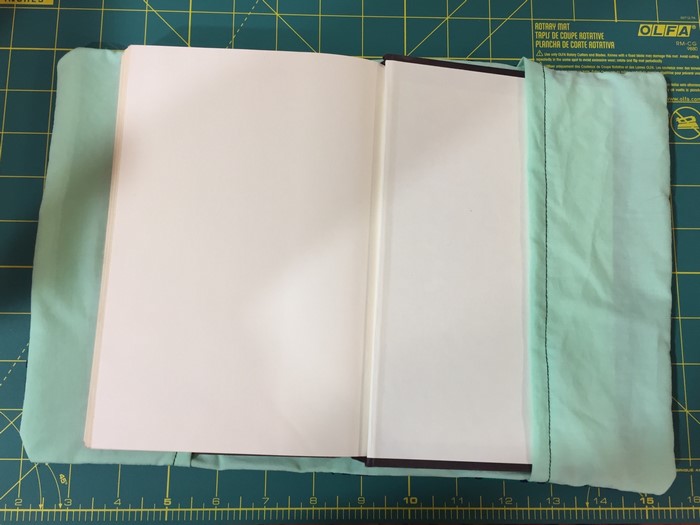
Now you have a beautiful book cover made with cotton or polycotton fabric
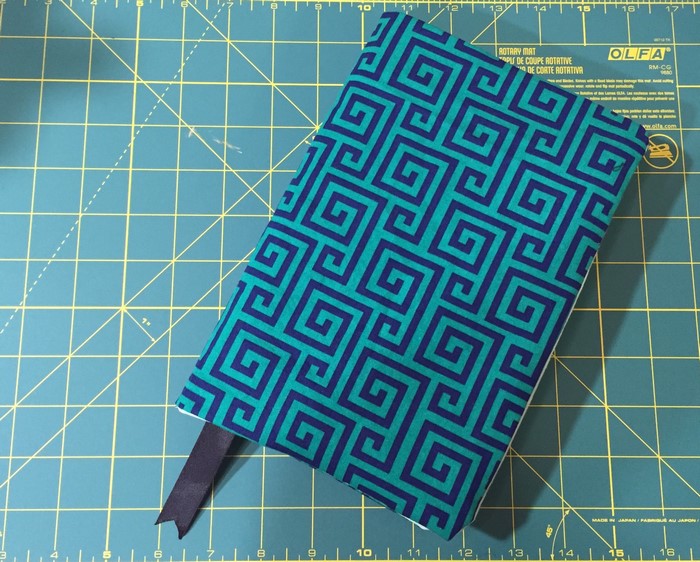
Buy the perfect cotton fabric for your book cover from our wide selection of cotton and polycotton prints. Click below to browse our vast collection.
Browse Collection >> Cotton Fabric
Browse Collection >> Polycotton Fabric


