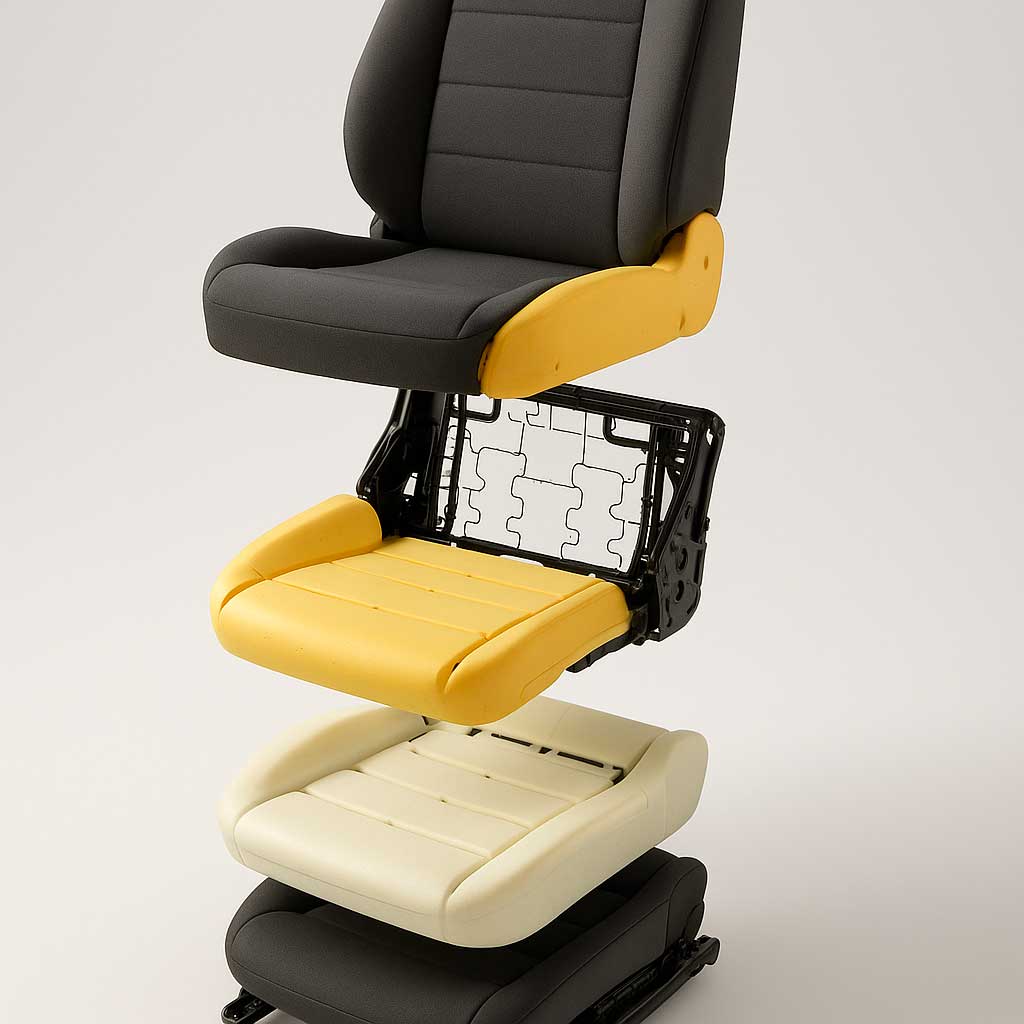

Before beginning any upholstery job, it’s crucial to understand the seat’s components. Most car seats consist of:
A seat frame (usually metal)
Foam padding for comfort
A fabric or leather cover (the upholstery itself)
Fasteners such as hog rings, clips, or Velcro
Carefully inspecting how the original upholstery was installed will help you plan your replacement process.
Upholstering a car seat may seem intimidating at first, but with the right materials, patience, and a step-by-step approach, even beginners can breathe new life into their vehicle’s interior. Whether you’re aiming to repair damage, improve comfort, or simply refresh your style, this guide will walk you through the basics of car seat upholstery.
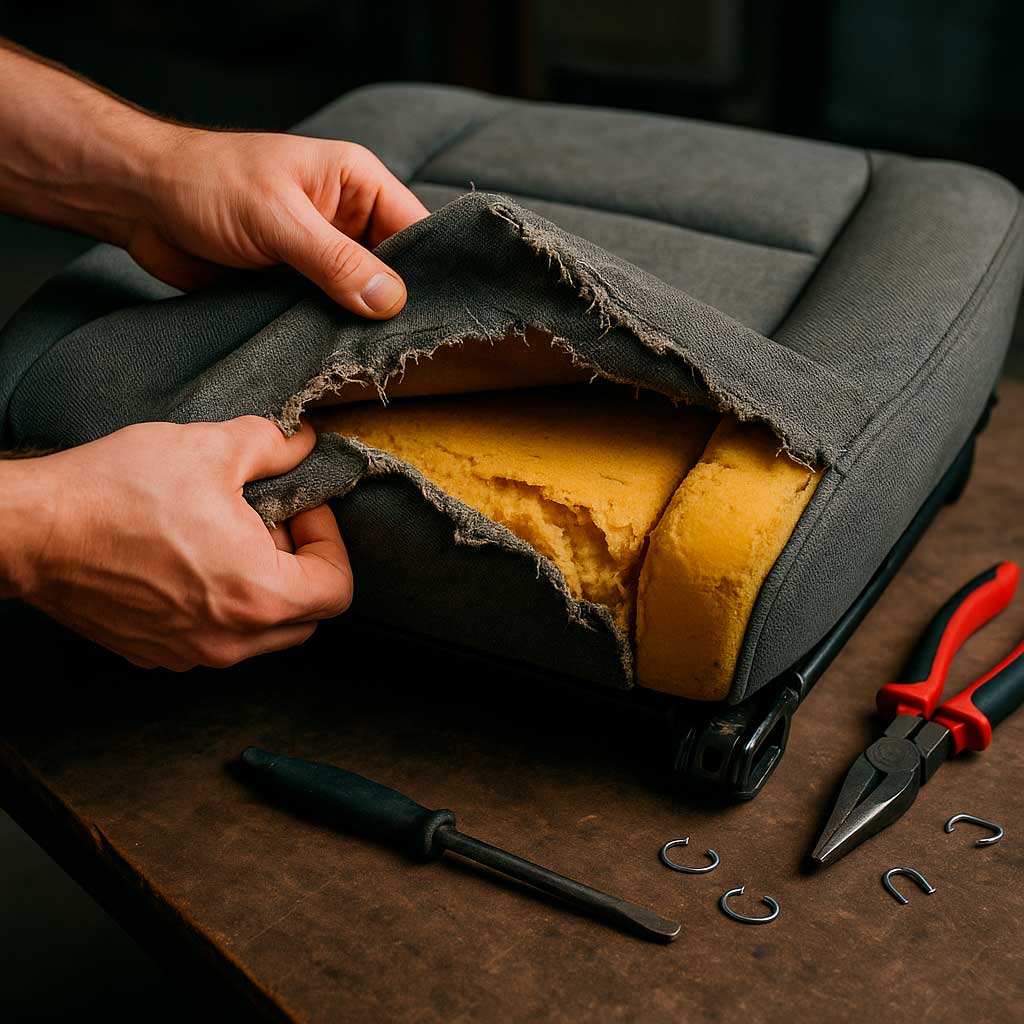
Start by disconnecting your vehicle’s battery, especially if your seats include airbags or electrical components. After removing the seat from the car, place it on a clean surface and begin carefully detaching the existing fabric with pliers or a flathead screwdriver. Label each fabric section so you can reuse them as templates for your new material. This process is commonly recommended by upholstery experts and DIY blogs like Chevy Hardcore, where they emphasize the importance of separating the backrest and cushion early on to simplify disassembly. While every seat varies slightly, having a systematic approach makes the reassembly far easier.
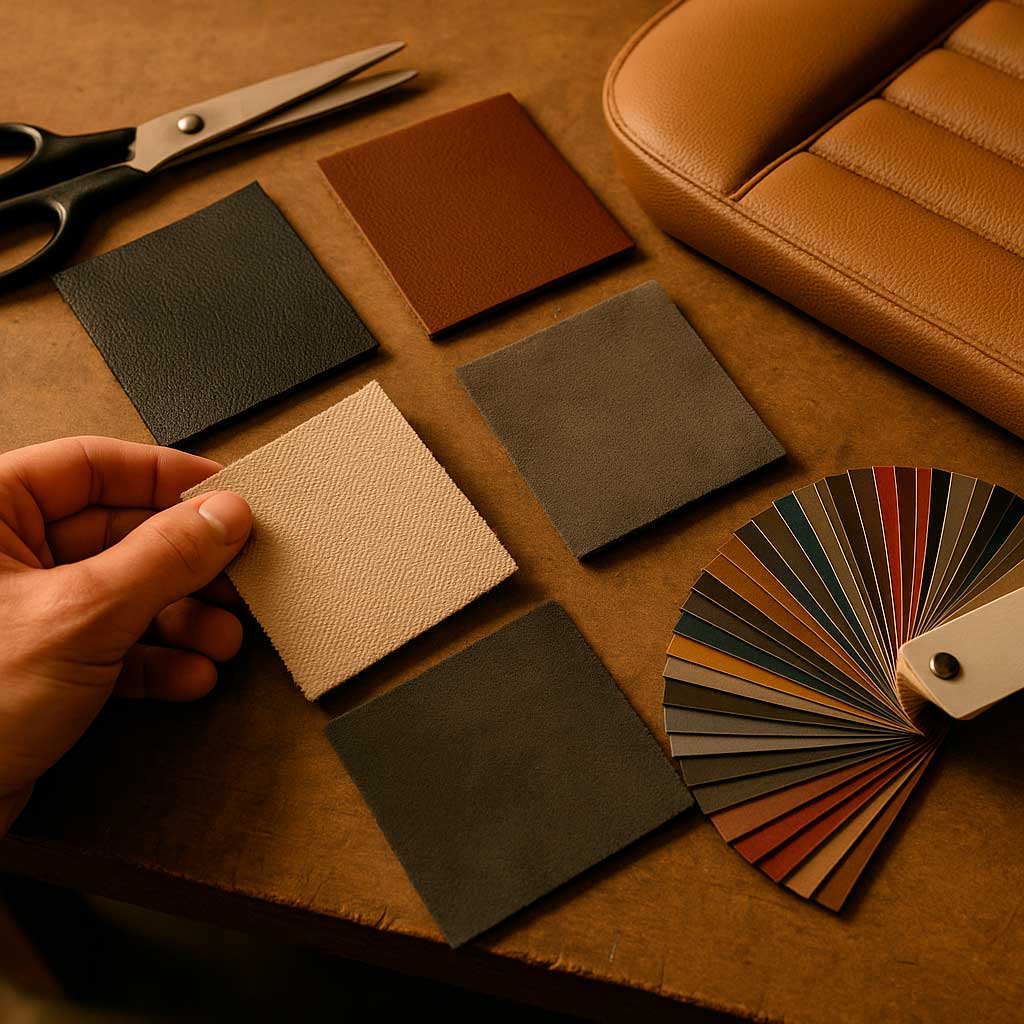
Once your old covers are removed, it’s time to select the fabric. Whether you’re choosing classic leather, durable vinyl, or breathable cloth, it’s crucial to think about UV protection, durability, breathability, and how easy the material is to clean. In fact, Capital One’s guide to car reupholstery outlines key pros and cons of popular fabric types and helps you weigh cost versus long-term performance. Consider your climate, usage, and aesthetic goals before making a decision, upholstery is both a functional and stylistic upgrade to your car.
Once your old covers are removed, it’s time to select the fabric. Whether you’re choosing classic leather, durable vinyl, or breathable cloth, it’s crucial to think about UV protection, durability, breathability, and how easy the material is to clean. In fact, Capital One’s guide to car reupholstery outlines key pros and cons of popular fabric types and helps you weigh cost versus long-term performance. Consider your climate, usage, and aesthetic goals before making a decision—upholstery is both a functional and stylistic upgrade to your car.
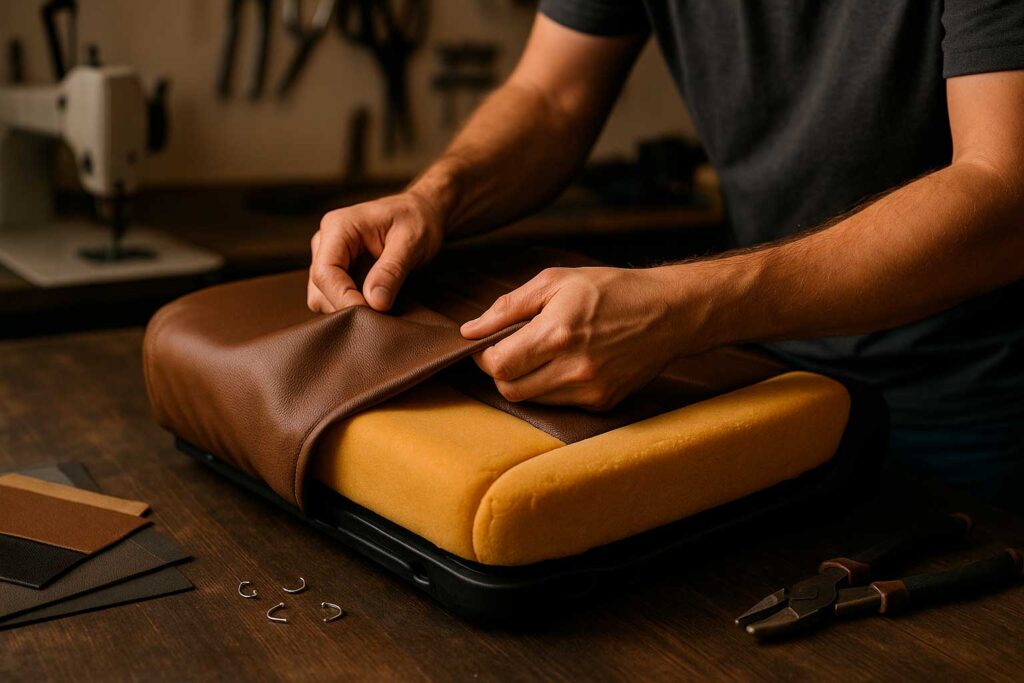
After cutting your new fabric using the old pieces as a guide (be sure to add a seam allowance), use a walking foot sewing machine to handle thicker materials like vinyl or marine-grade cloth. Reinforce seams in high-stress areas and use spray adhesive for foam where needed. To achieve a professional look, stretch the fabric tightly and evenly over the seat, securing it with hog rings or clips. This part of the process is very similar to what’s shown in classic car tutorials by Sailrite, where they detail everything from marking patterns to final fit adjustments. Even for first-timers, following this kind of structured method can yield clean, custom-looking results.
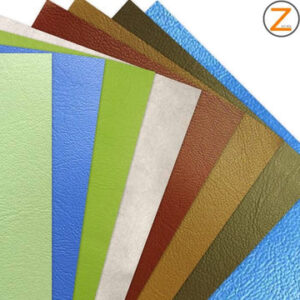
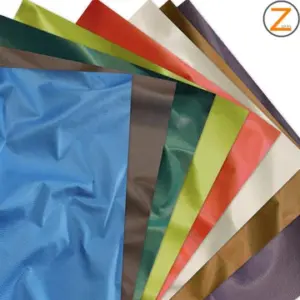
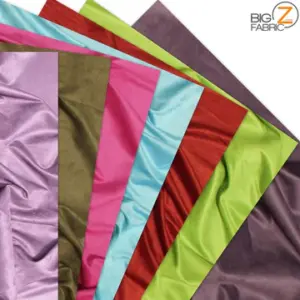
The quality, texture, and durability of your upholstery fabric will directly impact the final result of your project. Whether you’re aiming for a factory-fresh look or something entirely custom, it’s essential to work with materials that are made to perform under real-world conditions, especially in automotive interiors.
At Big Z Fabric, we offer a wide selection of car upholstery fabrics tailored for both professionals and DIYers. From high-performance marine vinyls to soft, breathable microsuedes, each option is crafted to meet the unique demands of auto restoration and customization. Below, explore some of our most popular materials used in car seat reupholstery.
Once reupholstered, give your new seat a full visual inspection. Check for loose seams, uneven areas, or missed fasteners. Then reinstall the seat into the car, reconnecting any electrical components.This process not only revitalizes your car’s interior but also gives a custom touch that reflects your personal style.
Before calling it done, gently clean the surface of the new fabric or leather using a material-safe cleaner. This will remove any dust, adhesive residue, or markings from the installation. Take your time to make final adjustments, ensuring a snug, wrinkle-free fit that looks as good as factory, or better.
Many professionals recommend taking photos at every stage, especially if it’s your first time. These will serve as reference points during reassembly. Also, always test the fit of your fabric before final attachment,tightening and tucking fabric sections as you go.
In addition, label all hardware and small components as you remove them, this includes bolts, screws, clips, and brackets. Use small bags or containers to keep pieces organized, and mark each one with tape or a marker. This simple step can save hours of frustration and ensure you don’t lose track of essential parts during the reupholstery process.
Upholstering a car seat takes time and attention to detail, but it’s a rewarding DIY project. Whether you’re restoring a classic or upgrading your daily driver, knowing how to properly handle fabric, foam, and frame components gives you full control over the look and feel of your ride.