Faux fur is a versatile material used in everything from cosplay costumes to home décor. But sometimes, you need to trim or “shave” the fur to get the exact look or texture you want. Done right, shaving faux fur can give your project a professional finish. Done wrong… and you might ruin your fabric. Here’s how to do it safely.
Why Shave Faux Fur?
Shaving faux fur gives you the ability to control both the length and direction of the pile, which opens up creative possibilities beyond the fabric’s original form. Whether you’re sculpting a plush toy for dimensional detail, shaping a sleek faux fur collar, or reducing bulk along seams to improve construction, trimming allows for greater precision. It’s a subtle yet powerful way to refine your work and bring your design vision to life, especially when you’re aiming for clean finishes or enhanced realism in texture.
Trusted Pre-Shaving Advice from the Faux Fur Community
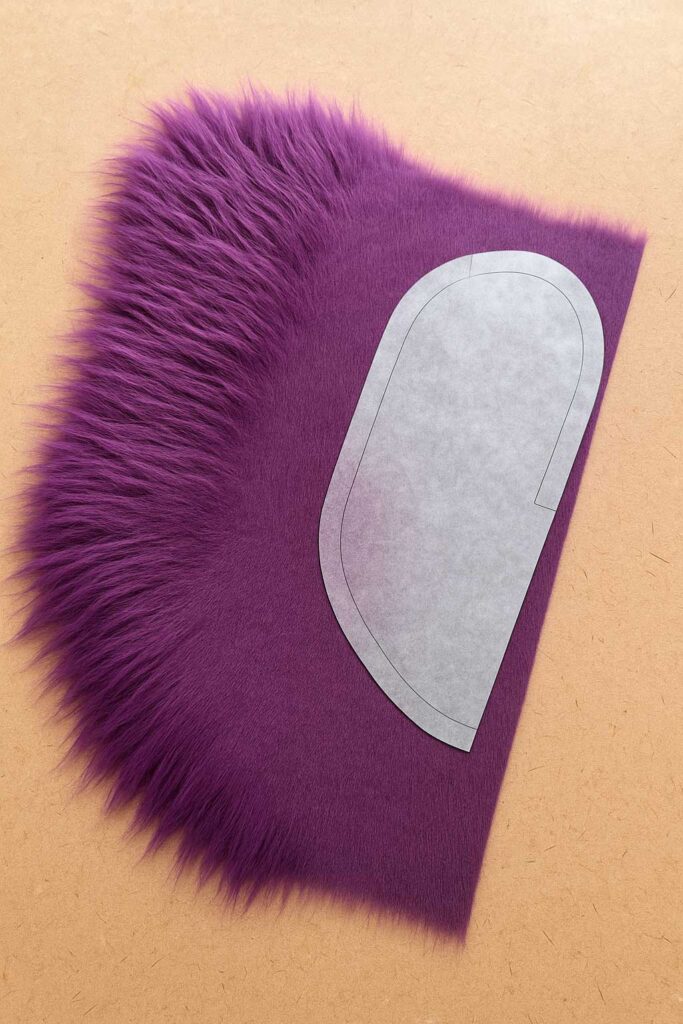
At Big Z Fabric, we know that mastering faux fur begins with the right preparation. One widely recommended method is pre-shaving long pile faux fur before cutting your pattern pieces — a practice that ensures consistent length and easier assembly.
A great resource on this topic is this guide by Matrices, which explains how trimming your fabric in broad sections can simplify detailed work later on. This approach works especially well with our EcoShag® Long Pile and Animal Print Faux Fur fabrics, helping creators achieve smooth, clean results right from the start.
What You’ll Need
-
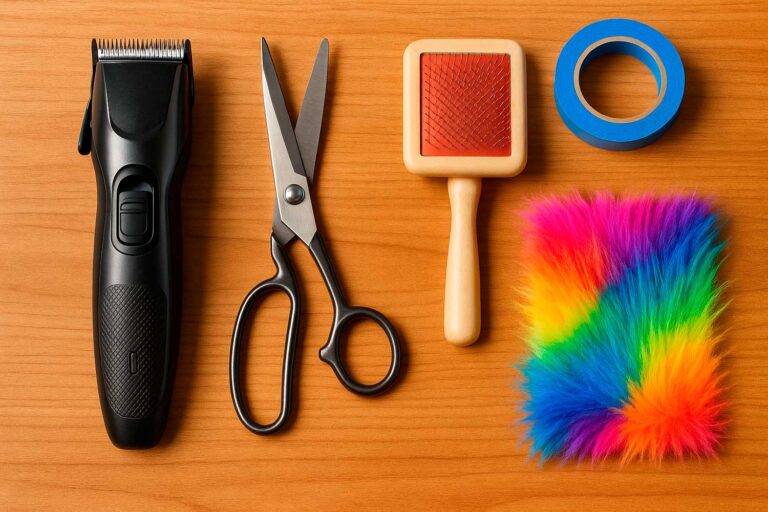
Electric hair clippers or beard trimmer (preferably adjustable)
-
Sharp fabric scissors (for edge detailing)
-
Comb or pet brush
-
Painter’s tape (optional but helpful)
-
A vacuum or lint roller for cleanup
Step-by-Step Shaving Process
1. Prep your fabric.
Lay the fabric flat with the fur side up. Brush the fur to remove tangles and ensure it’s laying naturally. Use painter’s tape to mark the areas you want to shave, especially for precision work like costume details.
2. Start with a test patch.
Before committing to a full area, test your clippers on a scrap or hidden section. This helps you get a feel for the length and movement.
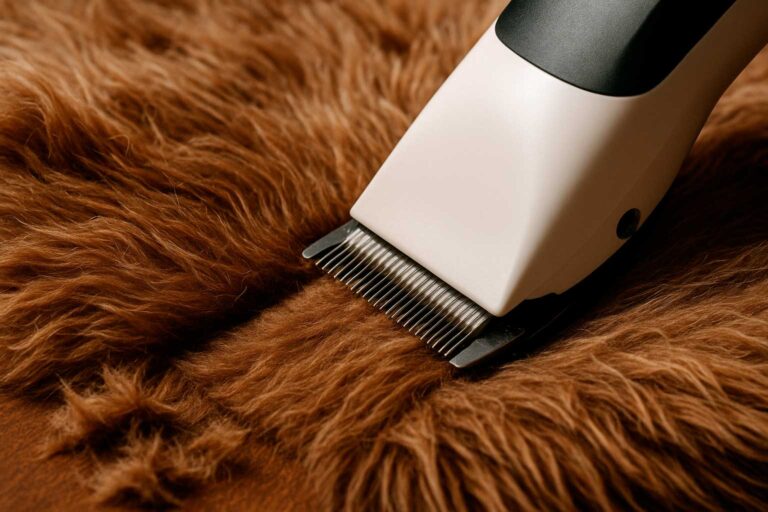
3. Shave in layers.
Use the clippers slowly and gently in the direction of the pile. Never press too hard — let the clippers do the work. If you need to reduce a lot of bulk, shave gradually instead of trying to cut it all at once.
4. Clean as you go.
Faux fur creates a lot of loose fibers. Keep a vacuum, lint roller, or brush handy to clean the area as you work.
Examples of Faux Fur Projects That Benefit from Shaving
Cosplay Masks & Headpieces
At Big Z Fabric, we’ve seen how even a small trim can transform a costume. Shortening faux fur around the facial area, such as the cheeks or eye line, can help showcase expressions and improve visibility. Using our EcoShag® Long Pile Faux Fur, for example, trimming just a bit around the face brings out the contours of your design without losing that dramatic look. It’s a subtle technique that adds polish and practicality to any cosplay or performance piece.
Seamline Refinement
Bulky seams can ruin the flow of an otherwise beautiful project. That’s why many of our customers trim faux fur like Short Shag or Sherpa around seam allowances. This helps reduce excess bulk, making sewing easier and the finished product cleaner. Whether you’re crafting a plush toy or a fur-trimmed jacket, shaving along the edges creates smoother joins and a more professional finish, especially when working with our heavier faux furs.
Custom Texture Effects
One of the most creative uses of shaving is adding contrast and dimension. For example, when working with Animal Long Pile Fur, selectively shaving parts of the pattern, like the belly or sides, enhances realism and makes the design pop. Or, when using something like Half Shag Faux Fur, trimming along certain edges can give your piece a stylized gradient effect. It’s not just about removing volume, it’s about shaping personality.
Bonus Tip: Clean-Up and Maintenance
Once you’ve finished shaving your faux fur, take a few minutes to clean your tools properly, it makes a big difference. Use a small brush or canned air to remove trapped fibers from your clippers, especially around the blades. This prevents buildup, keeps the motor running smoothly, and extends the life of your equipment.
Don’t forget the fabric itself: brush it out gently to remove any loose strands or leftover fluff. This final grooming step helps the fur settle evenly, giving your project a polished, well-finished look.
Big Z Fabric Recommends Listening to the Community
At Big Z Fabric, we believe that experience matters — and some of the most helpful insights come directly from makers like you. On Reddit’s r/FursuitMaking, creators shared practical tips that echo what we recommend when shaving faux fur
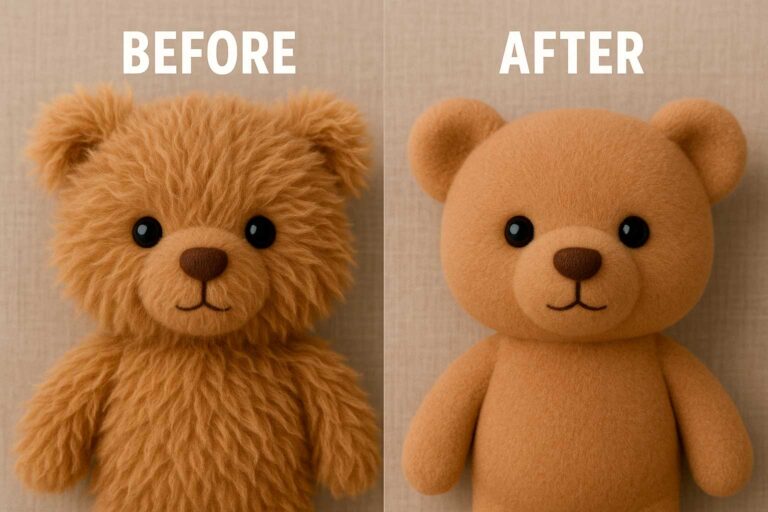
Final Thoughts
At Big Z Fabric, we know that details make the difference, and shaving faux fur is one of those finishing touches that can truly transform your project. With the right tools, a steady hand, and a bit of patience, this technique isn’t just safe, it’s essential when precision and polish matter.
Work slowly, trim in small sections, and always brush as you go to maintain consistency. Whether you’re designing an elaborate costume or adding texture to your home décor, thoughtful shaving will help your faux fur creations look clean, intentional, and professional.